
Sneak peek at the step by step process. You can find full sized images and step by step instructions further down in this post:

Here is a look at the full manicure photo from the original post:

Let's begin!
The things needed for this look:

Elevation Polish Hig, Sinful Colors Cool Gray, Sinful Colors Smokin, OPI Black Onyx, China Glaze White on White, China Glaze Dance Baby.

Three sizes of dotting tools, the end of a clean up brush(for a bigger dot), striper brush, detail brush.
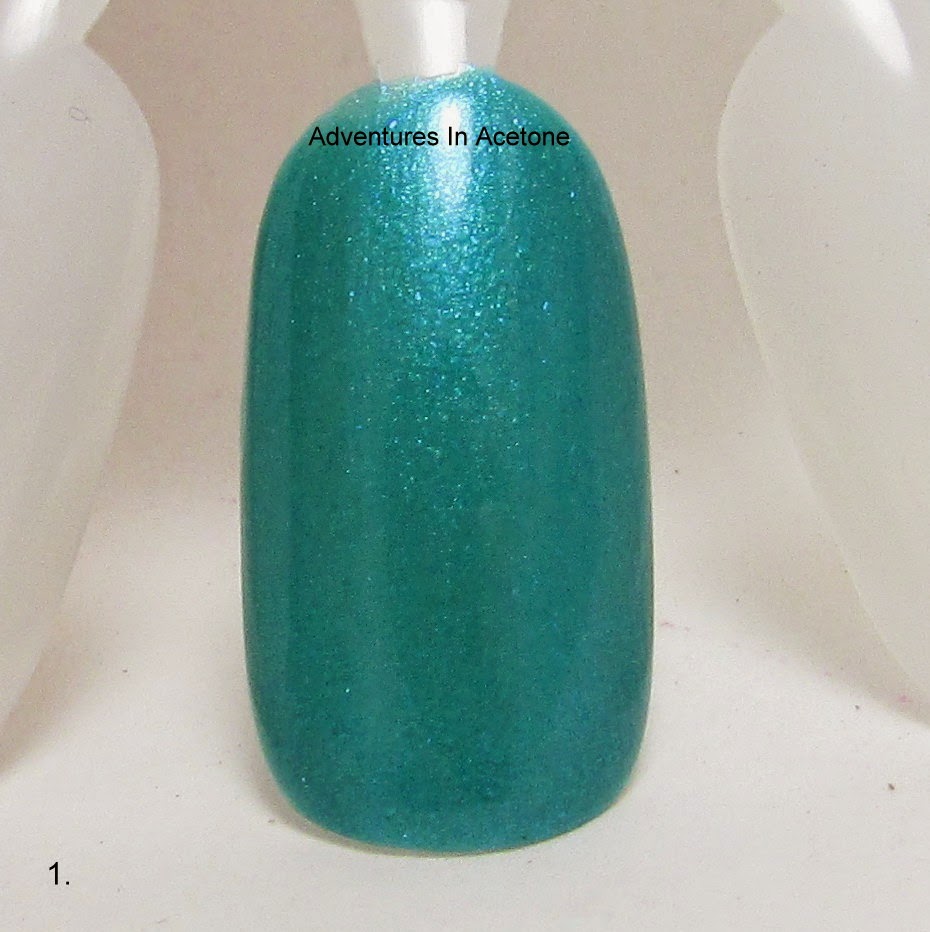
Step 1) Paint two coats of Elevation Polish Hig.
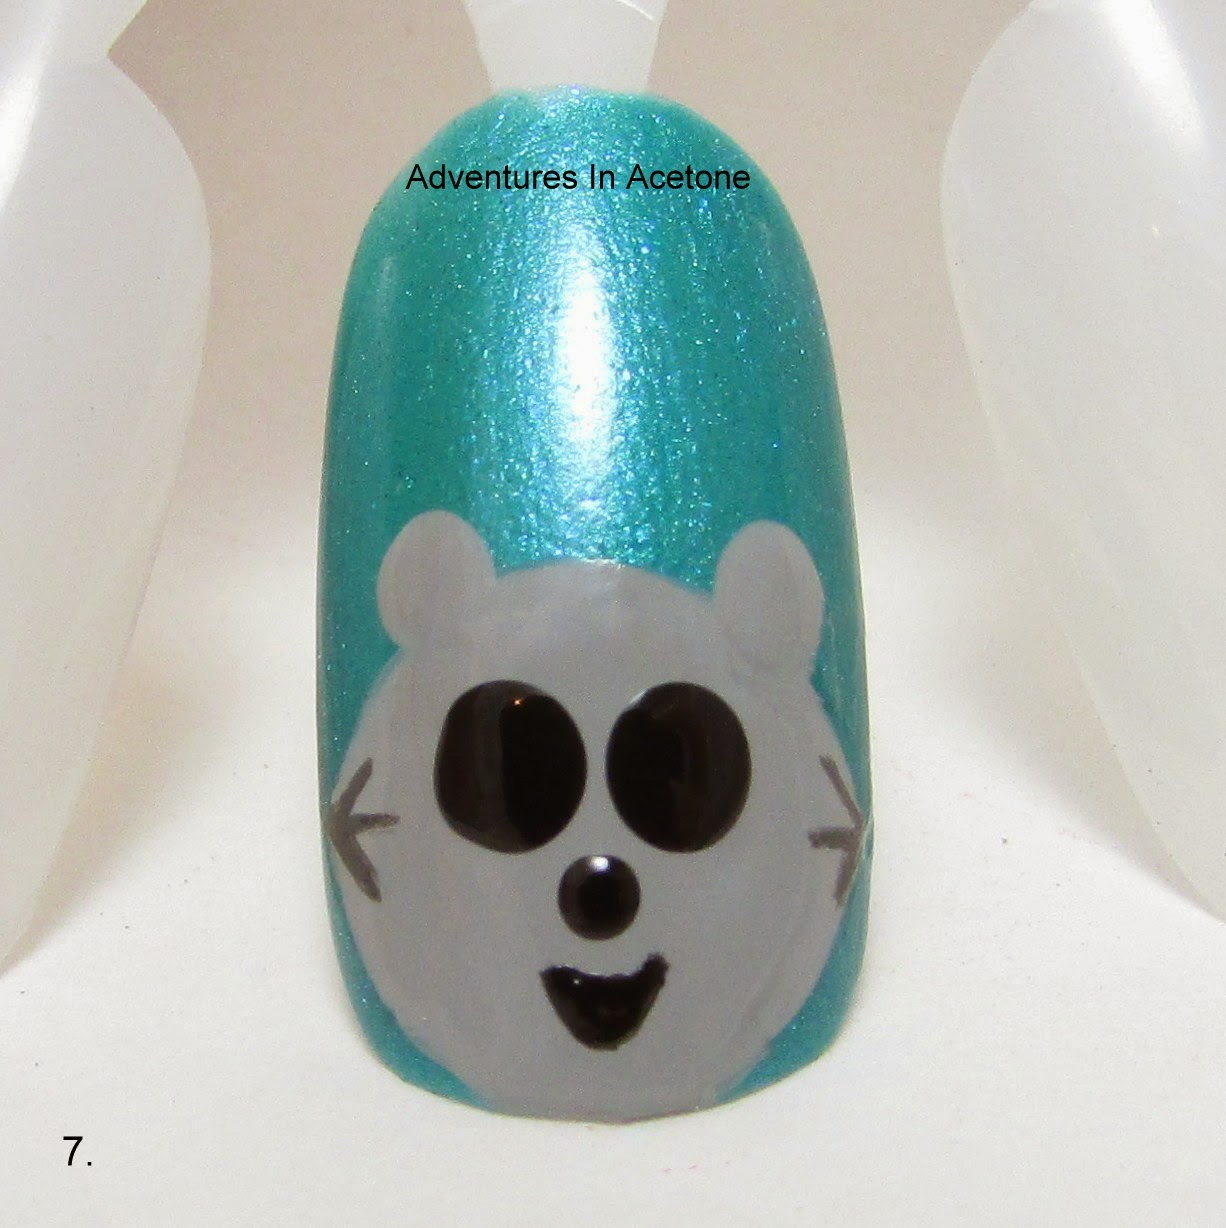
Step 2) Use your striper brush and Sinful Colors Cool Gray to create a rounded football shaped head for the raccoon. It's like a circle with two points at the sides. I had the head sitting on the nail tip so it doesn't look like a floating head.

Step 3) Use your large dotting tool and Sinful Colors Cool Gray to make two ear shapes.

Step 4) Use your detail brush and Sinful Colors Smokin to make three lines on each side of the head points.

Step 5) Use the end of your clean up brush as a big dotting tool and OPI Black Onyx to make the "eye mask" dots on the raccoon's face. Try to get these as close to the same size as possible.

Step 6) Use your medium dotting tool and OPI Black Onyx to make a nose for the raccoon.

Step 7) Use your detail brush and OPI Black Onyx to create a simple mouth shape. If it is easier, you can draw a smile line instead of an open mouth like I did.
Step 8) Use your detail brush and OPI Black Onyx to draw two curved lines at the top of the head for some "hair."

Step 9) Use your large dotter and China Glaze White on White to make the eyes. Position these closer to the center of the head in the "eye mask" circles. Try to get these as close to the same size as possible.

Step 10) Use your small dotting tool and OPI Black Onyx to make the pupils of the eyes. Try to center these in the white circles and get them as close to the same size as possible.

Step 11) Use your small dotting tool and China Glaze Dance Baby to put dots for the inner ears.

Step 12) Use China Glaze Dance Baby and your small dotting tool to make a dot inside of the bottom of the mouth for a cute tongue!

Don't forget to add a thick, quick drying top coat to protect and seal in your design! I prefer Seche Vite, H K Girl Top Coat, or Poshe. Put a thick bead of top coat on the brush and gently spread it toward the tips and side, taking great care to not let the bristles touch the polish underneath. Thinner top coats can cause streaking or bleeding of the colors and the bristles drag lines through the design. YOU'RE DONE!
What do you think of this raccoon tutorial? Will you be trying it? Did you try my giraffe tutorial from last week? I'd LOVE to see your nails if you use my tutorials so please share your pictures on my Facebook Page or tag me on instagram! You can find the icons at the top right of the blog for those links.
Thank you so much for reading!

Oh my, these are amazing! I'll definitely be trying them sometime soon.
ReplyDeleteAdorable!!!! I will try it very soon!!!
ReplyDeleteso sweet :)
ReplyDeleteAwww, how cute!
ReplyDeleteFor me, this is the cutest nail art tutorial ever! Gotta try it!
ReplyDeleteHe is SO CUTE I CAN'T EVEN STAND IT!!! I must try him soon!!
ReplyDeleteYay, this was the tutorial I was most excited for. I will definitely be trying this and the giraffe.
ReplyDeleteThis is SOOO cute!!
ReplyDeletegreat tutorial! this is so adorable!
ReplyDeleteBeautiful tutorial... SO cute!
ReplyDelete