
Today's design was from the middle of September and I'm not sure why I haven't done the tutorial until now. It may be one of my FAVORITE tutorials I've done yet!! I hope you like it as much as I do and try it for yourself! The easiest thing I find about nail art is that I break down each step into a shape and it makes it so much easier to do!
Below is a preview of this tutorial. You will find full sized pictures and step by step instructions further down in this post.

And here is a refresher pic of my full mani, using The Nail Junkie Zebra for my other nails:

Are you ready? Here we go!
Things needed for this tutorial:

Elevation Polish Sarychev, OPI Alpine Snow, OPI Black Onyx, Sinful Colors Cool Gray, Zoya Reagan.

Tools: Large, medium, small dotting tools, striper brush, detail brush.
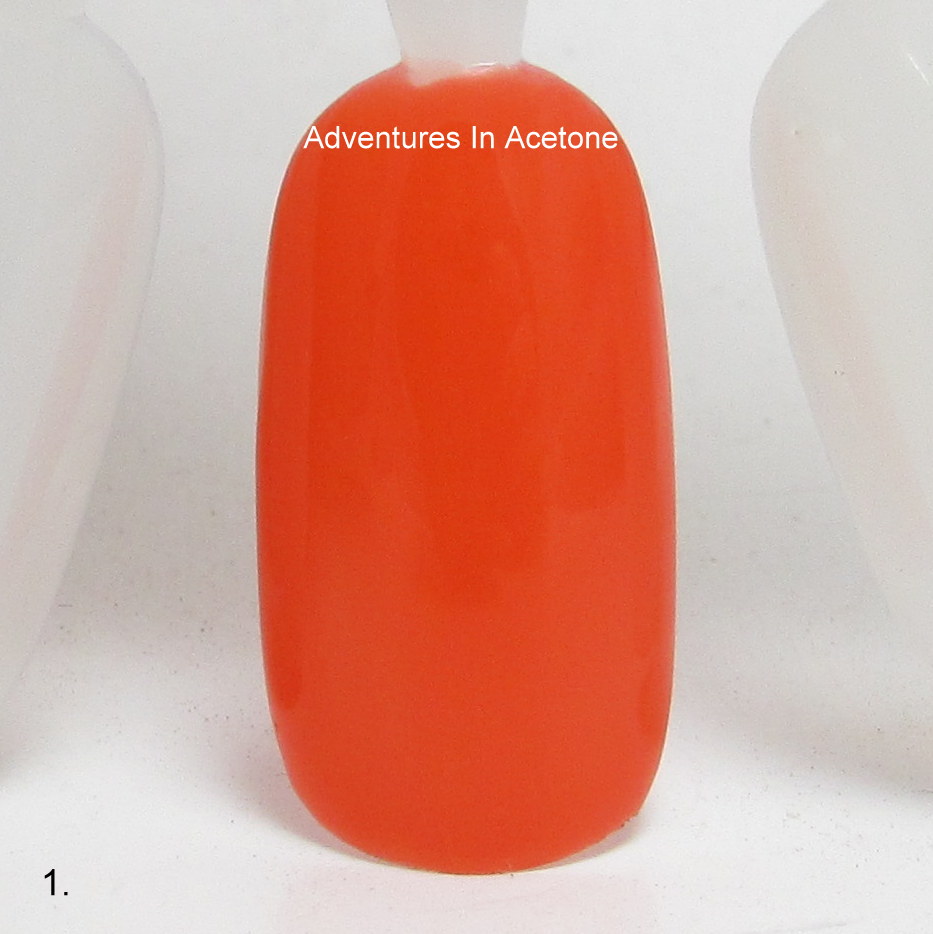
Step 1) Paint 2 coats of Elevation Polish Sarychev on your nail and let dry.
Step 2) Using your striper brush and OPI Alpine Snow, make a head shape that kind of resembles a light bulb.

Step 3) Use your detail brush and OPI Alpine Snow to make two ears on the sides of the top of the head.

Step 4) Use your striper brush and OPI Black Onyx to make the snout shape. Not really sure how to describe this shape, sorry LOL.

Step 5) Use your biggest dotting tool and OPI Black Onyx to make two dots side by side for the eyes. Let dry.

Step 6) Use your medium dotting tool and OPI Alpine snow to make white dots centered in the bigger black ones. Let dry.

Step 7) Use your smallest dotting tool and OPI Black Onyx to do the final small pupil dots for the eyes.

Step 8) Use Sinful Colors Cool Gray and your small dotting tool to make two nostril dots on the snout.

Step 9) Use your detail brush and Zoya Reagan to make a simple smile curve under the nostrils.

Step 10) Use your detail brush and OPI Black Onyx to make some spiky hair on top of the head between the ears.

Step 11) Use your detail brush and OPI Black Onyx to make two curved lines for the ear centers.

Step 12) The most important step, the stripes! Use OPI Black Onyx and either your detail brush or striper (whichever you are more comfortable with) to make triangle shapes on the sides and top of the head. This was a longer nail so I had a longer neck than my previous mani -- I did a couple on either side of the neck as well.

Don't forget to add a thick, quick drying top coat to protect and seal in your design! I prefer Seche Vite, H K Girl Top Coat, or Poshe. Put a thick bead of top coat on the brush and gently spread it toward the tips and sides, taking great care to not let the bristles touch the polish underneath. Thinner top coats can cause streaking or bleeding of the colors and the bristles drag lines through the design. YOU'RE DONE!
What do you think of this cute zebra nail art tutorial? Will you be trying it? If you try this, or any of my other tutorials, please share your pic on my Facebook page or tag me on instagram (@adventuresinacetone)! I'd love to see them! Thanks for reading!

Love this!! I'm going to have to try this one soon!
ReplyDeleteThank you! I hope you will!
Deleteso cute
ReplyDeleteToo cute! I definitely have to try it!
ReplyDeletethank you! please do!
DeleteGah! This is so cute! I can't wait to try this! :D
ReplyDeletethank you!! i hope you will!
Deleteadorable!! great tutorial :)
ReplyDeleteThanks so much!
DeleteAwww this is so cute!
ReplyDeleteJajajajaja que bonito ^.^
ReplyDeleteI used this tutorial for one of my posts (http://www.enigmatic-rambles.com/2013/12/33-day-nail-challenge-recreation.html) the zebra is so cute :P
ReplyDelete