Hello, readers! It's time for another tutorial! This week's is on the hippo nail art I did for the Digit-al Dozen Animal Week a couple of months ago.
Here is a sneak peek at the step by step process. You can find full sized pictures and step by step instructions further down in this post:
Here are the original Hungry. Hungry Hippos:
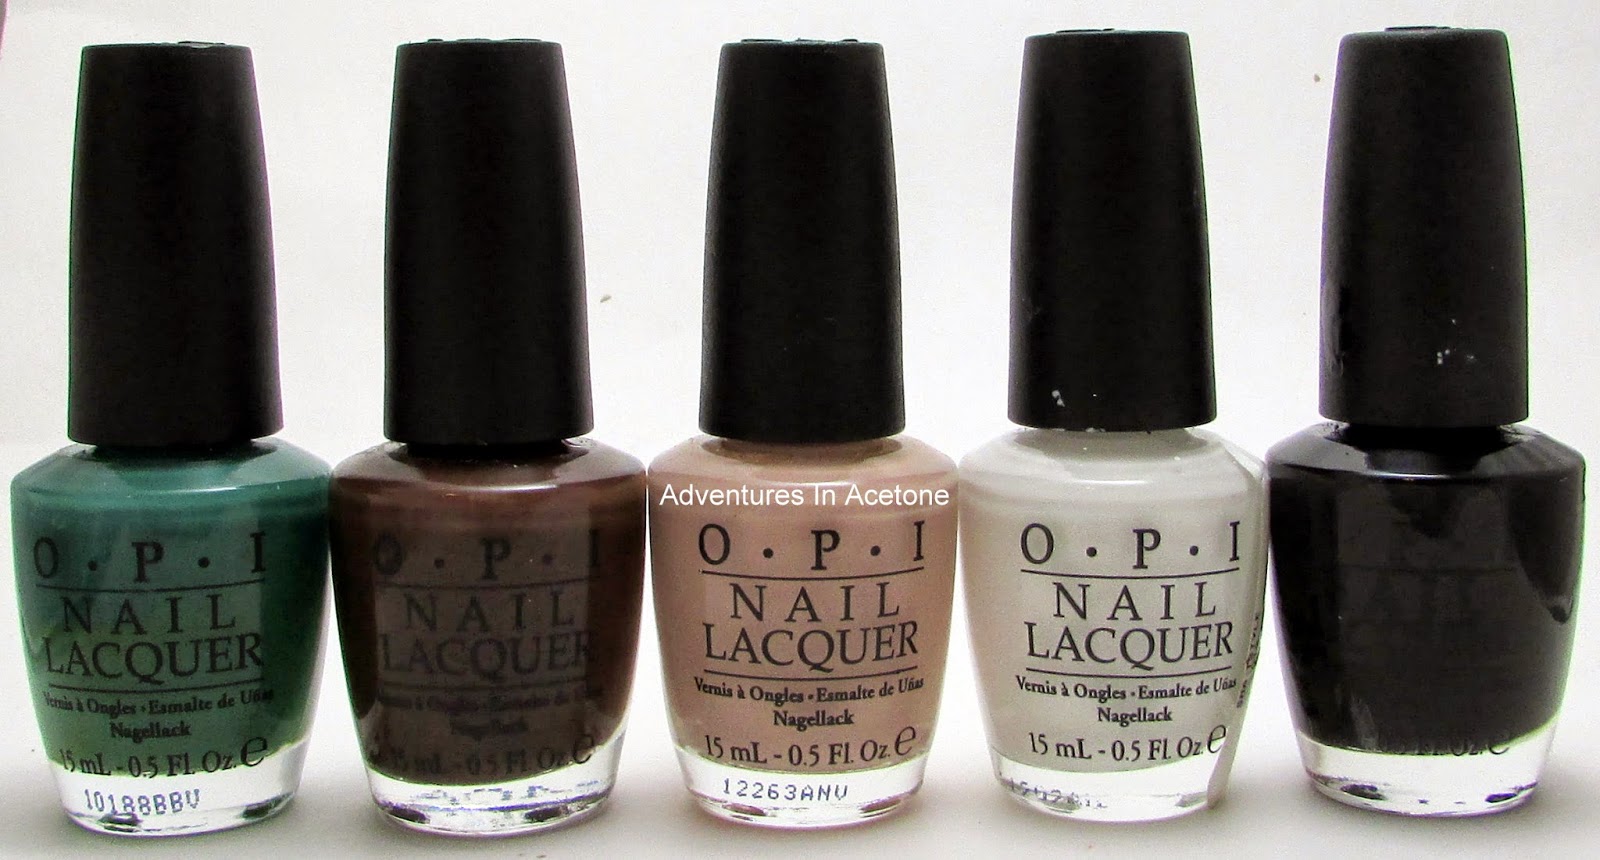
The things needed for this tutorial:
China Glazes Dandy Lyin' Around, Spontaneous, Grape Pop, White on White, and OPI Black Onyx.
A striper brush, a detail brush, and two sizes of dotting tools.
Step 1) Paint two coats of China Glaze Dandy Lyin' Around.
Step 2) Using China Glaze Spontaneous and the brush from the polish bottle, create a round top rectangle 2/3 up the nail.
Step 3) Again with Spontaneous, add some rounded cheeks for the hippo.
Step 4) Using the big dotting tool and Spontaneous, add two dots for ears on the top of the head.
Step 5) Use a striper brush and China Glaze Grape Pop to create an outline around bottom half of the face.
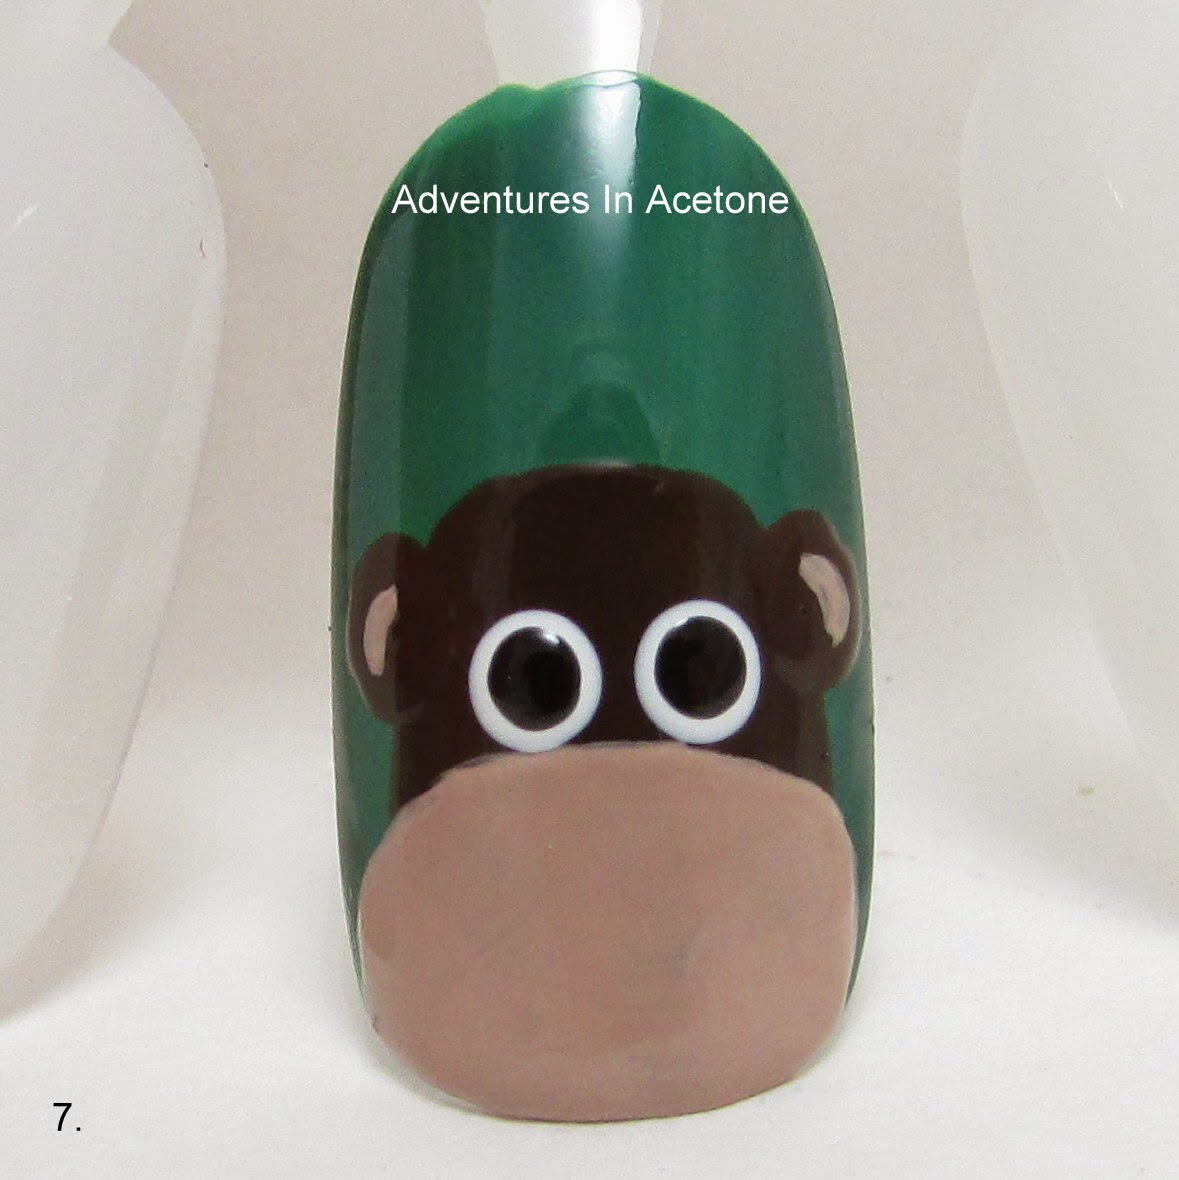
Step 6) Take the big dotting tool and China Glaze White On White to make two eye dots.
Step 7) Use the small dotting tool and OPI Black Onyx to make smaller dots in the center of the white ones.
Step 8) Using the same small dotter and Black Onyx, make two nostril dots a little further apart than the eyes.
Step 9) Use your striper brush and OPI Black Onyx to make a wide smile for the hippo.
Step 10) Use your detail brush and OPI Black Onyx to make little curved lines for the ears.
Don't forget to add a thick, quick drying top coat to protect and seal in your design! I prefer Seche Vite, H K Girl Top Coat, or Poshe. Put a thick bead of top coat on the brush and gently spread it toward the tips and side, taking great care to not let the bristles touch the polish underneath. Thinner top coats can cause streaking or bleeding of the colors and the bristles drag lines through the design. YOU'RE DONE!
AND because Google+ wanted to give me a heart attack this morning by adding this moving gif into my photos without asking me, I present this animated pictorial:
What do you think of this tutorial? Will you be trying it? If you try this, or any others, please share your pic on my Facebook page or tag me on instagram! I'd love to see them! Thanks for reading!