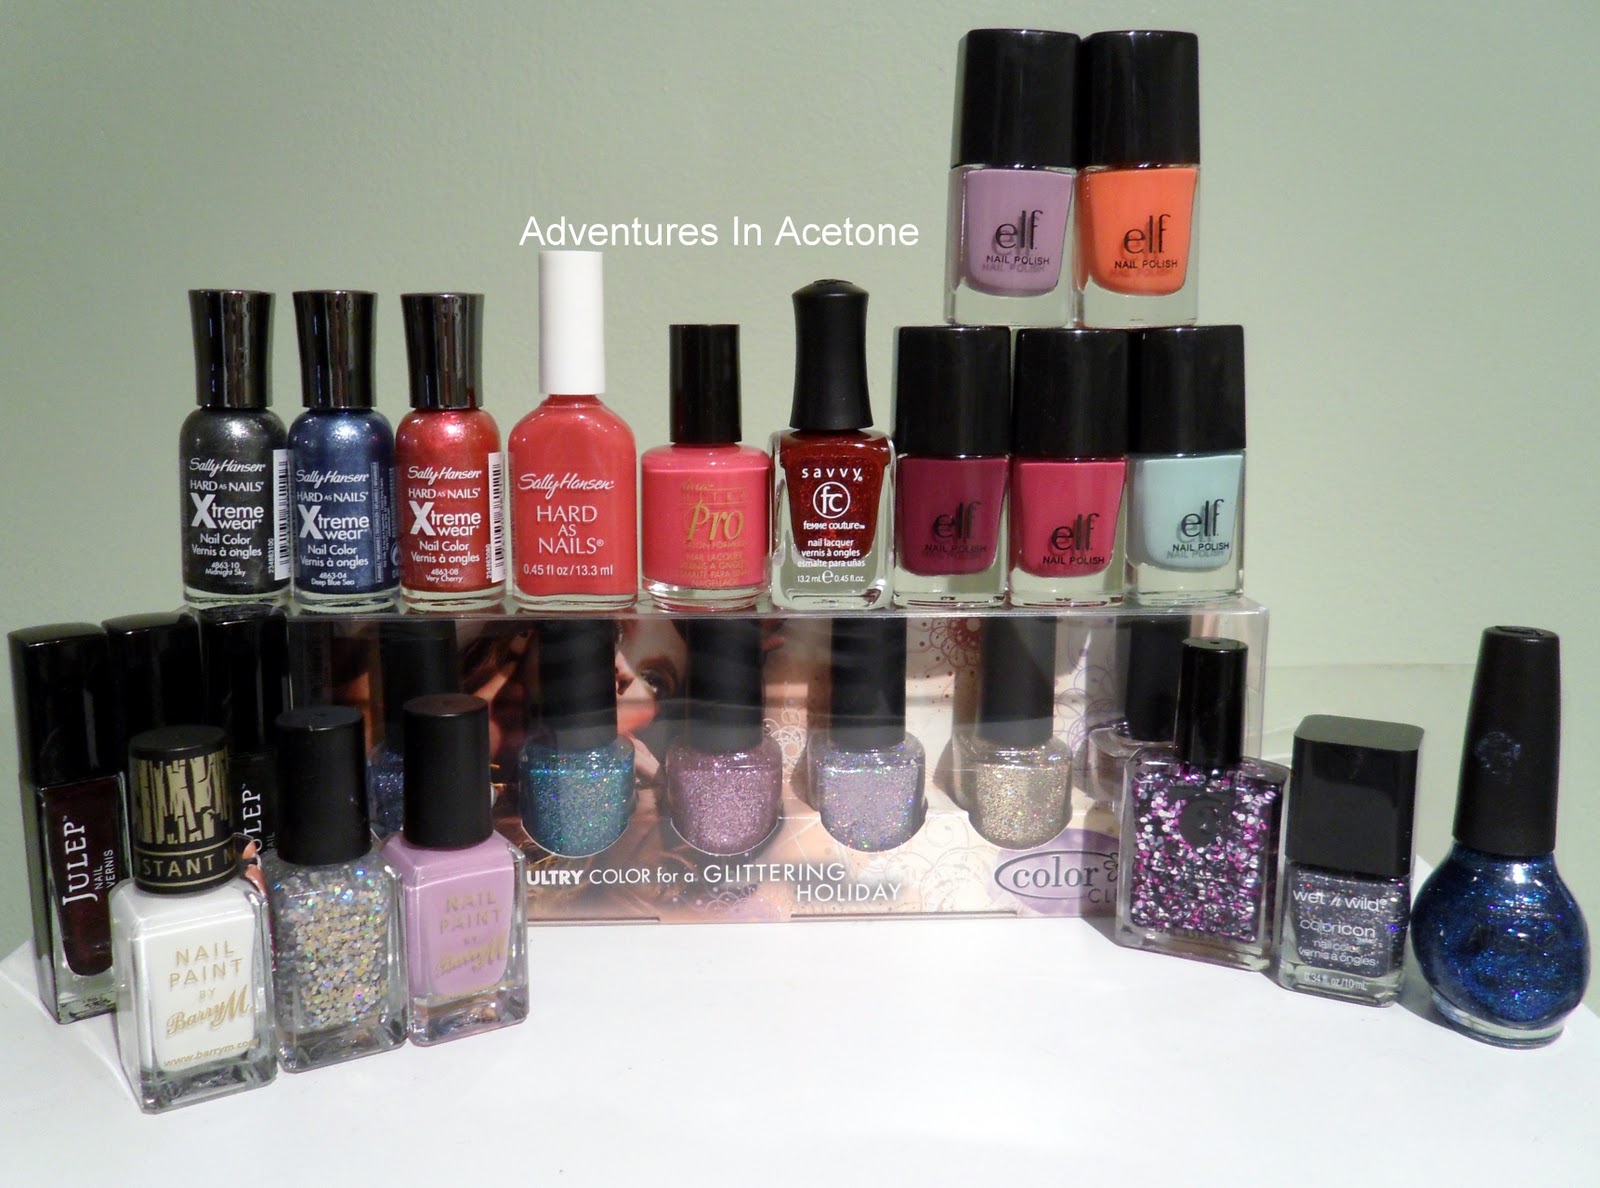
Saturday, November 19, 2011

My November Julep Maven Box!

Good morning, readers!! My Julep Maven box showed up when I was out of town so I am just now getting around to writing this post for you. This month, there was an option to get the "polish lovers" box if you weren't interested in the original box of polish, lipgloss, and a makeup bag. I opted for the Polish Lover box.


In this box:
Trina Nail Polish ($14)
Michelle Nail Polish ($14)
Diane Nail Polish ($14)
Total retail price: $42. I paid the normal $19.99! 

On to the swatches:

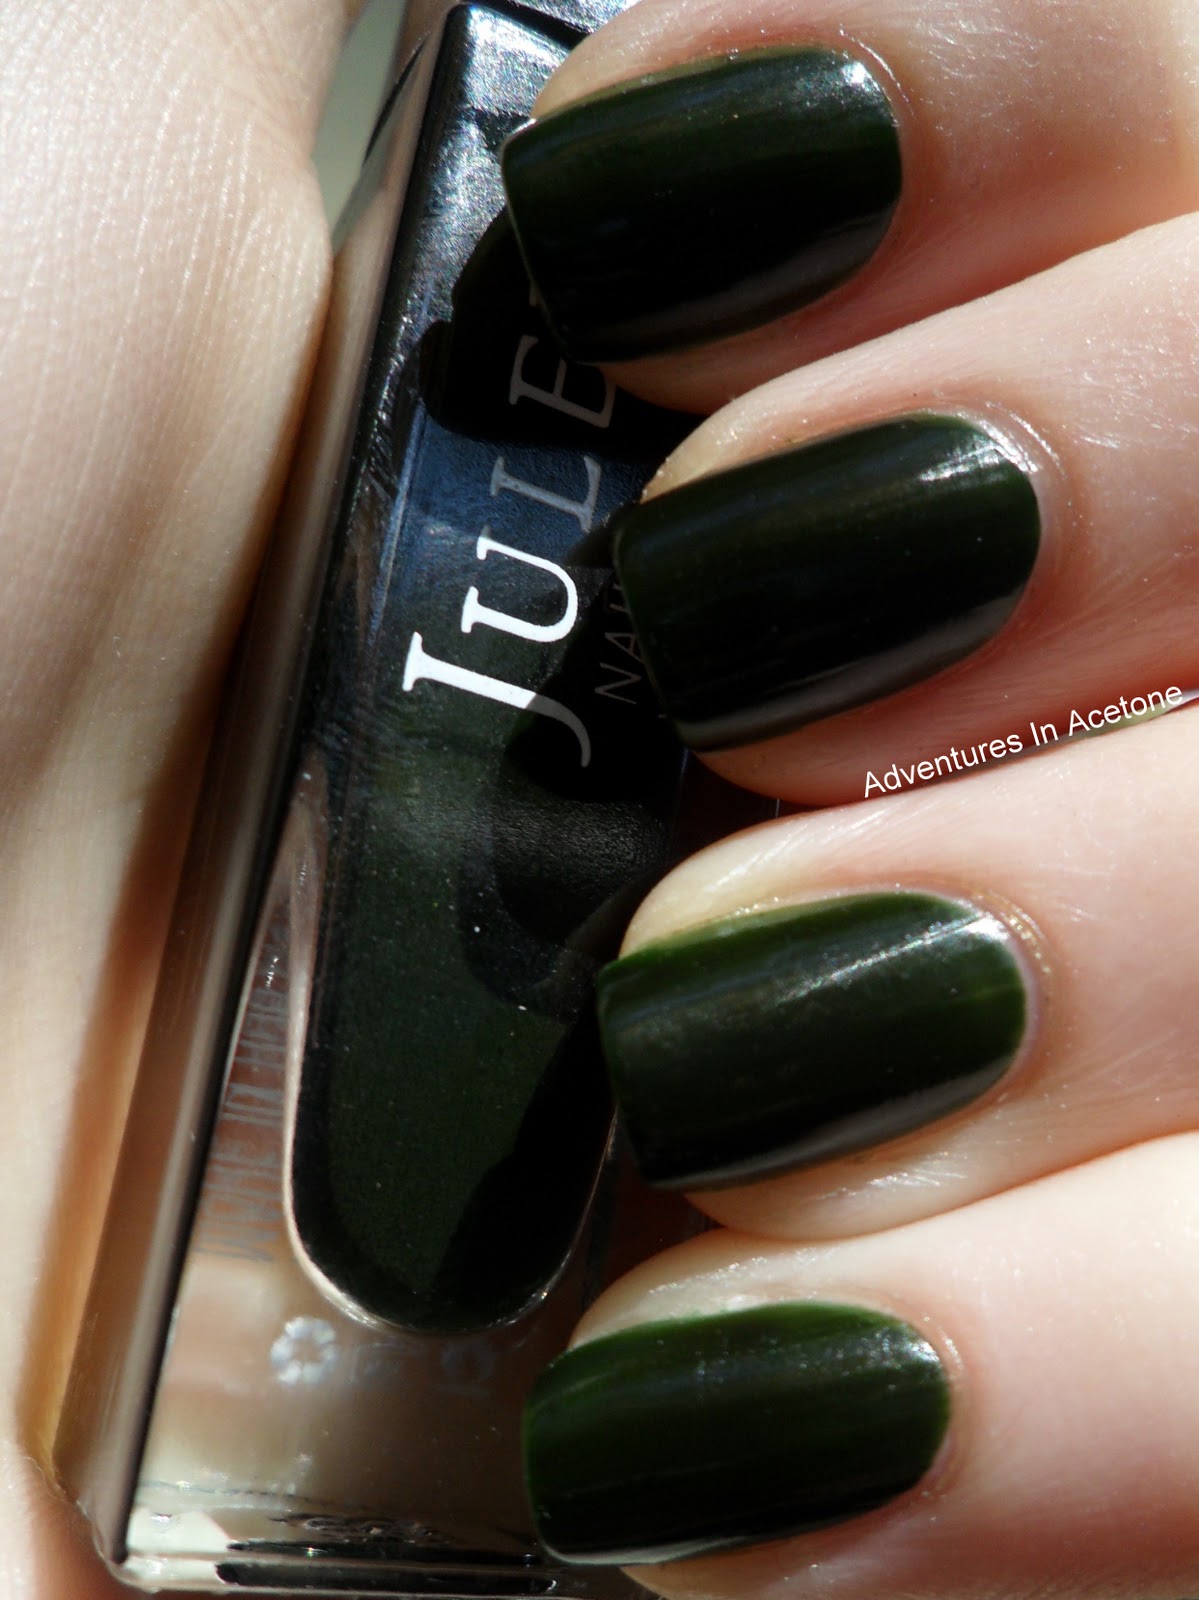
First, I give you Diane. A dark green that is great for fall! When in the direct sunlight, the green lightens enough to see it. 


Next up is Michelle. I gorgeous dark navy blue! I love it!


And I saved the best for last: Trina. Look at the hidden sparkle when the sun hits your nails! So gorgeous. It makes me want to carry a tiny sun around with me inside so I can see this all the time.


All in all, I really like the Polish Lovers box and I think it was a great option! I can definitely see myself wearing all 3 polishes. 

Don't forget, with Julep Maven:
-You can request a new "shelf pull" if you don't like what colors they've picked for you
-You always get free shipping, as well as 20% off their site
-You can pause, cancel, or send to friend any month by the 25th
-Your box is shipped on the 26th(as well as your card charged for it)
-It's 19.99 a month for at least $40 worth of products
-You get $15 credit for each Maven you refer(keep track of who you refer in case Julep has another glitch)

If you want to sign up now, here is my referral link:

http://www.julep.com/AP.aspx?ID=520&EID=14751479
Again, please let me know if you use my link so my credit doesn't get lost.


Anyone plan on ordering? What do you think of my new colors? Thanks for reading!

Pin It!

Friday, November 18, 2011

Turkey Nails + Tutorial!

Good morning, readers!! For those of us in the US, we are less than a week away from celebrating Thanksgiving! I thought it would be fun to do a Thanksgiving themed mani for you. It was so easy that I also made up the tutorial in case anyone wanted to duplicate it for next week!

My trees in the background are starting to change colors, yay!


Do you like my turkey? LOL. It's a little silly, but cute and I think it fits in with my other animal head designs. The color on all of my other nails is L'oreal Owl's Night! Isn't it gorgeous? I can't believe I've had this for over a month and haven't tried it before. 

On to the turkey tutorial:

These are the polishes I used:
Left to right: Color Club Antiquated(from the Foiled collection), OPI I'm Not Really A Waitress, China Glaze Cross Iron 360, GOSH Yellow Bombay, OPI Suzi Loves Cowboys, OPI Alpine Snow, and Wet n Wild Ink Well.

The tools used:
 
Striper brush, detail brush, medium dotting tool, small dotting tool(my small dotter tip actually broke off recently but it still works!).


Step 1) Paint your entire nail with Color Club Antiquated.


Step 2) Using one of your colors(I used I'm Not Really a Waitress) and your striper brush, make a feather shape that goes about 2/3 the way up your nail.


Step 3) Using your orange, red, and yellow polishes and your striper, repeat step 2 until you have the entire tail feathers.


Step 4) Using your brown and your striper brush, paint a circle head shape and a neck.


Step 5) Using white and your medium dotting tool, do two eyes.


Step 6) Using black and your small dotting tool, put small black dots in the center of the white eyes.


Step 7) Using your small detail brush and your orange, draw an upside down triangle for the beak.


Don't forget your favorite top coat! I used Poshe.

Well, what do you think? Cute, silly? Will you try it? Thanks for reading! Keep the tutorial requests coming!!


Pin It!

Thursday, November 17, 2011

Piggy Nails Tutorial!

Hello lovely readers! Are you ready for another tutorial? Traci from The Trace Face Philes requested this design. This was one of my earliest blog post art designs and it got a great response(I even found my picture on a cosmopolitan magazine website in another country!). It's my most viewed blog post with almost 500 page views! This design was from Simply Rins and I duplicated it! I hope you like it!

Here is the full mani:


Here's how you can do it:


The polishes I used:
Zoya Caitlin, Sinful Colors Starfish, OPI Feelin' Hot Hot Hot!, Wet n Wild Ink Well.


 The Tools I used:
Striper Brush and Medium Dotting Tool.


 Step 1) Paint your entire nail with Zoya Caitlin.


Step 2) Using your lighter pink, Draw a circle on the bottom half of your nail.


Step 3) Using your darker pink, draw a smaller half circle on the tip of your nail for the nose.


 Step 4) Using your dotting tool, make upside down triangle ear shapes. This part is a little tricky but its mostly like making three dots that connect.


 Step 5) Using your dotting tool and black, make your two eyes.(I messed up my right eye here, oops!)


Step 6) Using your striper brush and black polish, do two little lines for the nostrils.  

Don't forget to add your favorite top coat! There you have it! Super cute and really easy.

What do you think? Will you try it? I'd love to see your tutorial tries posted to my facebook page! 

Please let me know of any other tutorials you'd like to see! Thanks for reading!

Pin It!

Wednesday, November 16, 2011

Barry M Mani!

Good morning, readers! If you saw my nail mail post yesterday, you know that I recieved 3 Barry M polishes in a giveaway. I was so excited about them and they were the first new polishes I tried. I wanted to use all 3 of them, so this is the mani I came up with.


I used: Base Coat of OPI Natural Nail Base Coat
2 coats of Barry M Berry Ice Cream
1 Crackle coat of Barry M White Nail Effects
1 Coat of Barry M Hologram Hexagrams
1 Coat of Out the Door

What are your thoughts? I was impressed with this white crackle! I've heard that Barry M makes the best crackles and I may have to agree! The Berry Ice Cream went on amazingly and I had barely any clean up because it didn't try to flood my cuticles or anything. The hexagrams were a bit tricky to place on the nail because they float in a really thick clear jelly. Even with top coat, they were still a little uneven because I was trying to move around the hexagrams. But I really like my mani and you can only tell if you rub your finger over a nail.

Do you have any Barry M polishes? I definitely want more now! Thanks for reading!
Pin It!

Tuesday, November 15, 2011

I'm Back!!!

Hello readers!! So sorry its been a while since my last post, but if you are a liker on my FB page, you would have read that my grandmother was very ill in the hospital and we had to leave town to be with her. Thankfully, she is out of the hospital now and recovering so I will be back to normal posting.

When we returned home, I had 3 nail mail packages waiting!! I also got a few things while I was out of town so this post is to show you what I have recently acquired!!

All of my new goodies!


These are the things I bought while out of town. 
Top row: Unnamed Cosmetic Arts glitter, Wet n Wild Diamond in the Rough, and NOPI Kendall on the Katwalk. 
Bottom is the Color Club Beyond the Mistletoe collection(Mine have the flower caps and labels on the bottom!)


Nail Mail:

My November Julep Maven Box Came! I got the Polish Lovers Option Box.
Left to Right: Trina, Michelle, and Diane


I won my friend Samina's giveaway at Sam Nails It! My first Barry M polishes!!!
Left to Right: White Nail Effects, Hologram Hexagrams, and Berry Ice Cream. Thank you so much Samina!! I can't wait to try them!!

These are another giveaway win!! This time I won the 25 Follower Giveaway over at Let's Get Nailed. Check out all of those polishes! Thanks Brittany, Jen, and Ericka, I can't wait to try them!


Well, there you have it! Hope you liked my recap and I'll get a new nail post up soon.
Just some reminders, check out my blog sale tab and my blog facebook page! Thanks for reading!!


Pin It!